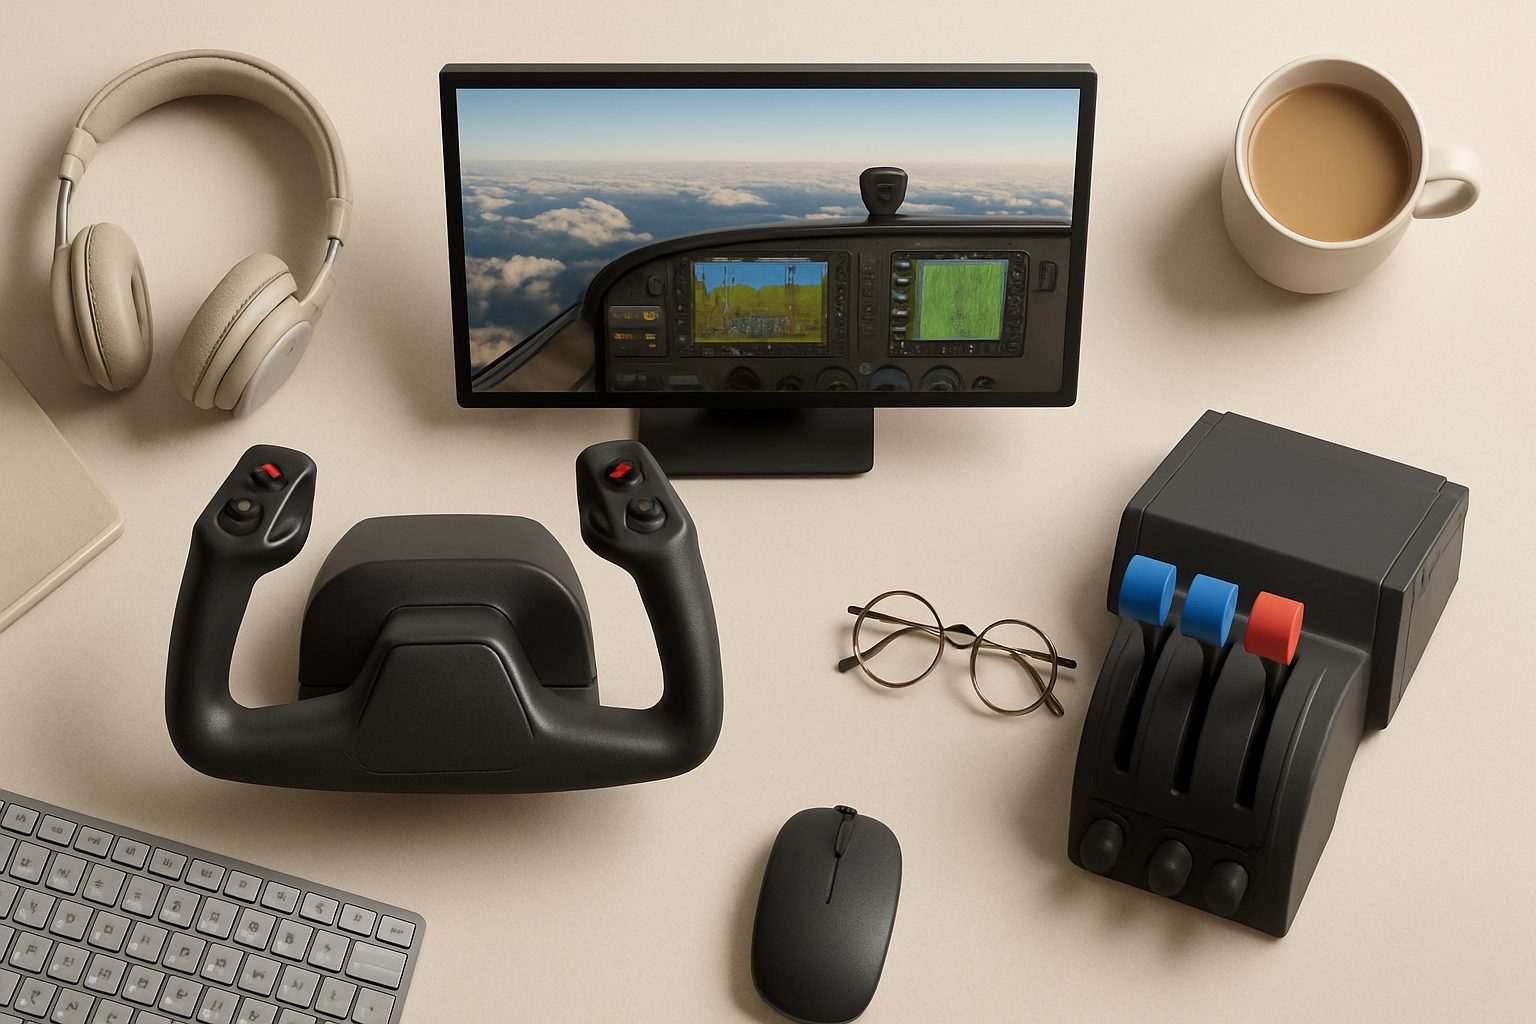
How to Set Up VR for Microsoft Flight Simulator 2024 in the UK: Step-by-Step
Microsoft Flight Simulator 2024 is one of the most immersive VR experiences available on PC. Flying over the Lake District or approaching Gatwick in full 3D with natural head movement transforms the sim from a monitor-based hobby into something genuinely captivating. But getting VR working smoothly requires more than plugging in a headset—you need to configure OpenXR properly, tune your graphics settings, and understand what your hardware can actually deliver.
This guide walks you through the complete setup process, from checking your rig's readiness through to dialling in performance so you get smooth, comfortable flight sessions.
Check Your Hardware First
Before touching settings, verify your system meets the baseline requirements. MSFS2024 with VR is demanding. You'll want:
- GPU: Nvidia RTX 4070 or better, or AMD RX 7700 XT equivalent. RTX 4060 Ti will run VR, but at reduced settings. VRAM matters—12GB is sensible.
- CPU: Intel 12th-gen i7 or AMD Ryzen 5 5600X as minimums; newer is better.
- RAM: 32GB. MSFS2024 loads the entire world into memory.
- Storage: SSD only—NVMe preferred. The sim streams data constantly; mechanical drives cause stutters.
If your GPU is older than RTX 4070, you'll spend more time optimising later. That's not necessarily a blocker, but expect lower settings.
Check your specs in Windows by right-clicking "This PC" → Properties, or use GPU-Z to verify your card's memory and power delivery.
Install and Configure OpenXR
OpenXR is the standard that bridges VR headsets to flight sims. Your headset needs an OpenXR runtime installed.
For Meta Quest 3 or Quest Pro: Download Meta Quest for PC (the desktop app). This installs the Meta OpenXR runtime automatically.
For HTC Vive or Valve Index: Install SteamVR. It includes the OpenXR runtime.
For HP Reverb G2: Download the Windows Mixed Reality for SteamVR community driver, or use the native Windows Mixed Reality runtime.
Once your headset's app is installed, plug the headset in, launch it, and confirm the runtime is active. You'll see it listed in Settings → Apps → Optional Features → OpenXR in Windows (or via the headset manufacturer's utility).
Set Up MSFS2024 VR
Launch Microsoft Flight Simulator 2024 and go to Options → General. Scroll to the bottom—you'll see an Enable VR toggle. Turn it on.
The sim will ask which OpenXR runtime to use. Select your headset's runtime from the dropdown (Meta, SteamVR, or Windows Mixed Reality, depending on what you installed). Click Apply.
Restart the sim. The next time you launch a flight, put on your headset and press the VR button on your controller, or use the keyboard shortcut (default: Right Alt + V). The view should switch to your headset's display.
If this doesn't happen, check that your headset is detected as active in its companion app, and that SteamVR (if you're using it) shows no warnings on its home screen.
Configure Graphics and Performance
VR is resolution-heavy. MSFS2024 renders the scene twice (once per eye) at high res, and frame rate directly affects motion sickness. Aim for 90 fps minimum; 45 fps with motion reprojection is better than inconsistent 60.
Go to Options → Graphics:
- VR Render Scale: Start at 70–80% if you have an RTX 4070. This scales the internal render target below headset resolution, which dramatically improves performance without looking blurry. Increase to 100% only if you're hitting 90 fps consistently.
- Texture Resolution: Ultra uses ~11GB VRAM alone. Set to High initially.
- Volumetric Clouds: Off or Low. This is expensive and adds little to immersion when you're in the cockpit.
- Ambient Occlusion: Low or Off.
- Depth of Field: Off in VR—it's uncomfortable and won't work properly with head movement.
- Motion Blur: Off.
- Antialiasing: FXAA is enough; DLSS/FSR are great if your GPU supports them.
Don't max everything out hoping it'll work. MSFS2024 scales poorly near its limits.
Enable DLSS or FSR (If Available)
If you have an Nvidia GPU (RTX 40-series or newer 30-series), enable DLSS 3 under Graphics → Advanced. Set it to Balanced. This upscales from a lower resolution with AI, and frame generation can turn 45 fps into pseudo-90 fps with latency that's actually acceptable in VR.
For AMD GPUs (RX 7000-series), FSR 3 works similarly.
Don't use DLSS Frame Generation for VR yet—latency is still higher than native rendering, though it's improving.
Test and Tune
Load a familiar flight—somewhere like Goodwood or Shoreham—with clear weather. Note your frame rate (Options → Developer Tools → frame rate counter, or use FrameView).
If you're hitting 90 fps or above consistently, increase VR Render Scale in 5% increments until you drop below 85 fps, then back off slightly.
If you're below 70 fps, reduce Texture Resolution to Medium and lower cloud quality further.
The goal is consistency. A locked 45 fps with motion reprojection enabled feels smoother than bouncing between 60 and 75 fps.
Comfort Tweaks
In the VR settings (accessible in-flight via the VR menu), adjust:
- Cockpit Brightness: Increase if the default feels dim.
- Head Position Offset: Move it forward slightly if you feel disconnected from the controls.
- Vignette: Turning this off gives more peripheral vision, which helps spatial awareness.
Some people feel motion sickness with certain settings. If you do, reduce frame rate variability first—smooth 45 fps beats janky 60 fps.
Final Check
Fly a 30-minute route before declaring success. Short test flights don't reveal stutters or thermal issues. Watch for frame drops as the sim streams new scenery, and monitor GPU temperature (should stay under 83°C).
If you're seeing stutters in specific regions, you've likely hit a performance ceiling. Reduce Render Scale or texture quality rather than flying around problems—you'll want smooth flight time more than perfect visuals once you're up.
More options
- Honeycomb Alpha Flight Controls Yoke (Amazon UK)
- Thrustmaster TCA Officer Pack Airbus Edition (Amazon UK)
- Logitech G Pro Flight Rudder Pedals (Amazon UK)
- Meta Quest 3 VR Headset (Amazon UK)
- Honeycomb Bravo Throttle Quadrant (Amazon UK)