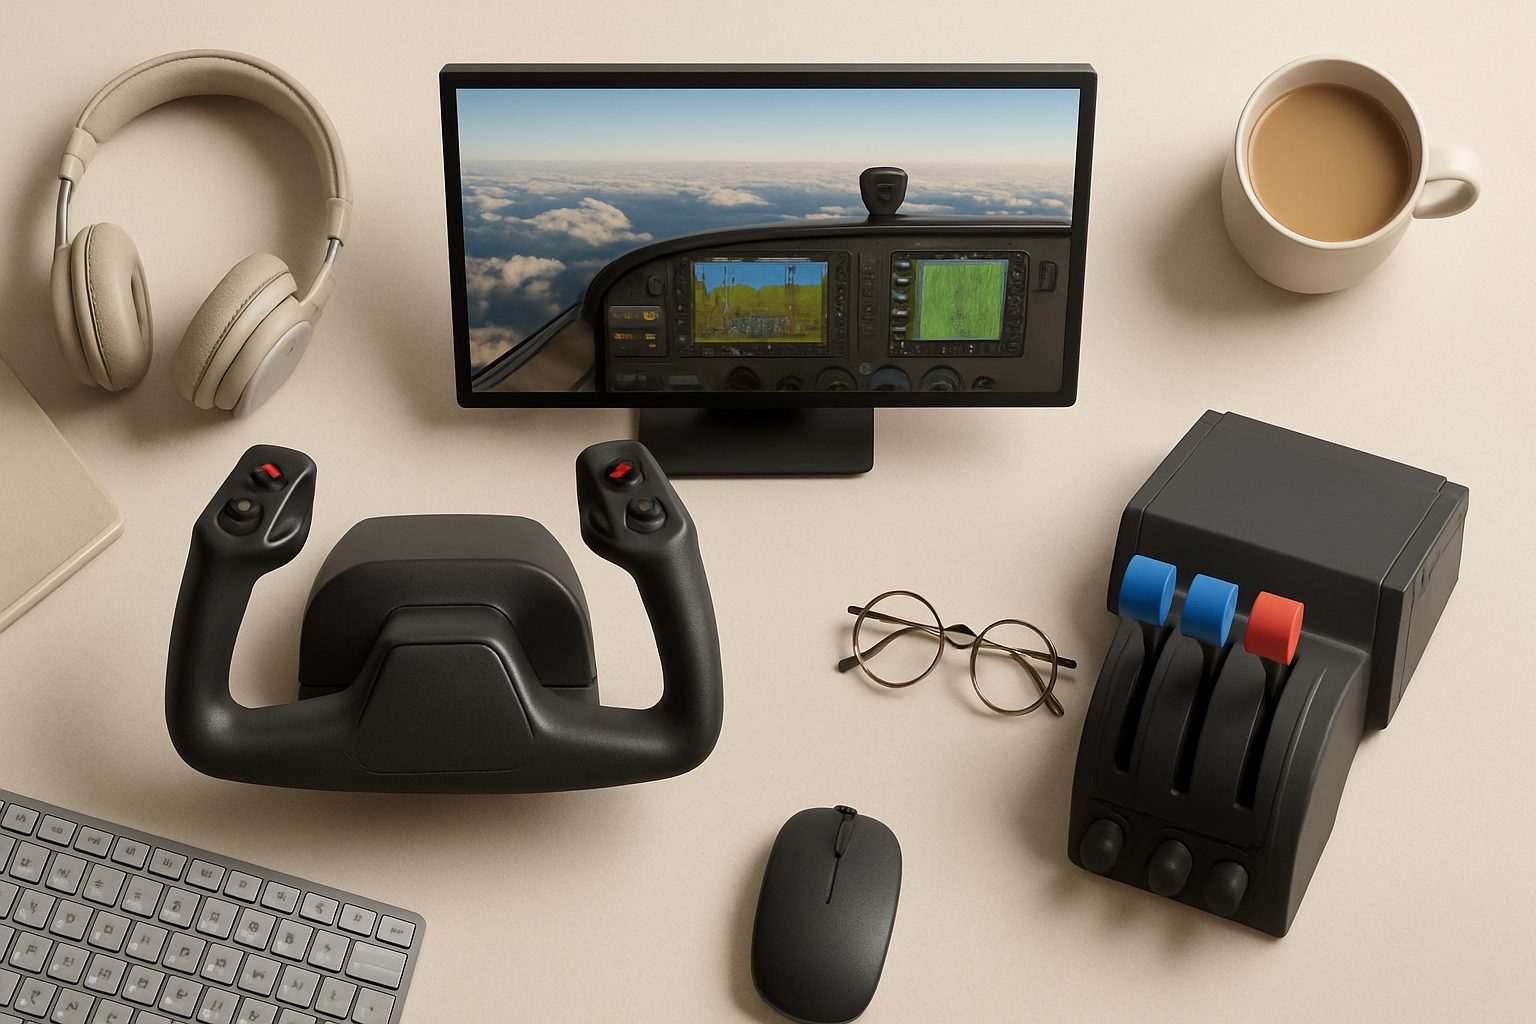
How to Calibrate Your Yoke, Throttle, and Rudder Pedals in MSFS 2024 (UK Guide)
Getting your flight controls properly calibrated in Microsoft Flight Simulator 2024 makes the difference between smooth, predictable flying and frustrating drift, dead zones, and unwanted inputs. If your aircraft feels twitchy on the pitch axis or sluggish on the roll, the problem usually isn't MSFS—it's in the calibration. This guide walks you through Windows-level setup, MSFS sensitivity curves, and null-zone tuning to get your hardware working exactly how it should.
Why Calibration Matters
Flight sim controllers are analogue devices. They measure resistance or position continuously, and that raw signal needs translating into meaningful aircraft inputs. Out of the box, Windows and MSFS make assumptions about centre points, response ranges, and dead zones. These assumptions often don't match your specific hardware or flying preferences. Calibration lets you override those defaults.
Without proper calibration, you'll fight issues like:
- Aircraft rolling or pitching on its own (centre drift)
- Control inputs feeling lumpy or non-linear
- Throttle jumping around rather than moving smoothly
- Rudder pedals fighting your inputs at specific travel points
Step 1: Windows Game Controller Calibration
Start here. Windows has its own control calibrator that establishes the baseline for everything else.
Windows 11 / Windows 10:
- Open Settings → Bluetooth & devices → Other devices
- Select Calibrate next to your yoke or joystick
- Follow the on-screen prompts—you'll centre your controls, then move each axis to its full extremes
- For throttle quadrants with separate axes, calibrate each one individually
What to watch for:
When centring your yoke, hold it at dead centre for a few seconds—don't rush. The calibration window shows live feedback as a crosshair; aim for exact centre. When moving to extremes, go all the way—don't stop short.
If your hardware has rudder pedals connected separately, Windows may ask you to calibrate those as a two-axis stick (left/right) rather than separate pedals. That's fine—the mapping happens in MSFS.
After Windows calibration finishes, test your controls in Windows Game Controller settings. Each axis should show full 0–100 travel with no drift at centre.
Step 2: MSFS Control Binding and Sensitivity
Open MSFS 2024 and head to Options → Controls → Calibration.
Axis assignment:
Make sure your hardware is correctly identified. MSFS should list your yoke or stick by name. Check that:
- Pitch input is mapped to your yoke's pitch axis (usually the forward/back movement)
- Roll is mapped to left/right movement
- Throttle is mapped to your quadrant's throttle axis (not the prop pitch or mixture)
- Rudder is mapped to your pedals' yaw axis
Don't assign multiple inputs to the same axis unless you specifically want it—for example, assigning both yoke roll and a trim axis to the same control.
Sensitivity curves:
This is where MSFS shines. The sensitivity curve tool lets you define how much aircraft movement results from your physical input—crucial for making controls feel natural.
- Go to Sensitivity within the calibration screen
- Select your control axis (e.g., pitch)
- Look at the curve graph. The default is usually a straight diagonal line—input matches output linearly
- For pitch and roll, try a slightly curved line that favours small inputs: more response near centre, less at the extremes. This stops you overcorrecting
- For throttle, keep it mostly linear—smooth, steady movement is what you want
- For rudder, a straight line usually works, but some pilots prefer a curve that gives more authority at larger inputs
Finding the right curve takes flying. Start with the defaults, fly a few approaches, then adjust. If the aircraft feels twitchy, flatten the curve. If inputs feel mushy, make it steeper.
Step 3: Null-Zone Management
Null zones—dead bands where the control doesn't respond—are essential for fighting hardware drift. Without them, even tiny electrical noise makes your aircraft jitter.
In MSFS:
- Still in the calibration screen, look for Deadzone sliders
- Set a small deadzone for pitch and roll—usually 0.5–2% works well. You want to eliminate drift without losing fine control
- Set a slightly larger zone for rudder, around 2–3%, because pedal drift is common
- For throttle, use 0–1%—you rarely need throttle dead band unless your quadrant is old or noisy
The key is finding the sweet spot. Too much dead zone and you can't make fine adjustments. Too little and drift ruins immersion. Start at 1% across the board and fly—if you see unwanted movement, increase it by 0.5%.
Step 4: The Test Flight
After calibration, load a simple aircraft (the Cessna 172 is ideal) and do a test flight:
- Trim the aircraft to hands-off level flight. It shouldn't drift left, right, up, or down
- Make small, deliberate pitch and roll inputs—does the aircraft respond smoothly?
- Move the throttle slowly—does it track your input without jumping?
- Test the rudder at different speeds—full forward flight, slow flight, and near stall
If something feels off, return to MSFS calibration and adjust the curve or dead zone. You might need three or four test flights before it feels right, and that's normal.
Recalibration Frequency
Recalibrate Windows every few months if you fly regularly. Hardware ages—resistances change, pots accumulate dust. Once a season is reasonable. MSFS sensitivity curves usually stay put unless you're chasing a specific feel.
Proper calibration transforms sim flying. Your controls stop fighting you, inputs feel natural, and you can focus on the flying rather than fighting the hardware.
More options
- Honeycomb Alpha Flight Controls Yoke (Amazon UK)
- Thrustmaster TCA Officer Pack Airbus Edition (Amazon UK)
- Logitech G Pro Flight Rudder Pedals (Amazon UK)
- Meta Quest 3 VR Headset (Amazon UK)
- Honeycomb Bravo Throttle Quadrant (Amazon UK)